


We know that follow cams can sometimes feel like a stab in the dark - you're chasing your mates as closely down the hill as you can, trying to ski with one pole and hit all the jumps, only to miss the shot and waste a run. This is why we made our variety of ski pole camera mounts. No matter what cam you like to film with, we have you covered. We made a guide to try give our tips & tricks for follow cams so that you can get world-class footage with ease and blow up the gram.

Filming techniques & angles
Follow slightly off to the side.
The classic follow cam angle is from directly behind. We normally find this works best if you are slightly off to one side, so as they spin a trick, they can drift towards or away from you.
Side on is best for rails/ jibbing.
This technique is easy for park skiing, and is easy to adjust speed and distance accordingly.
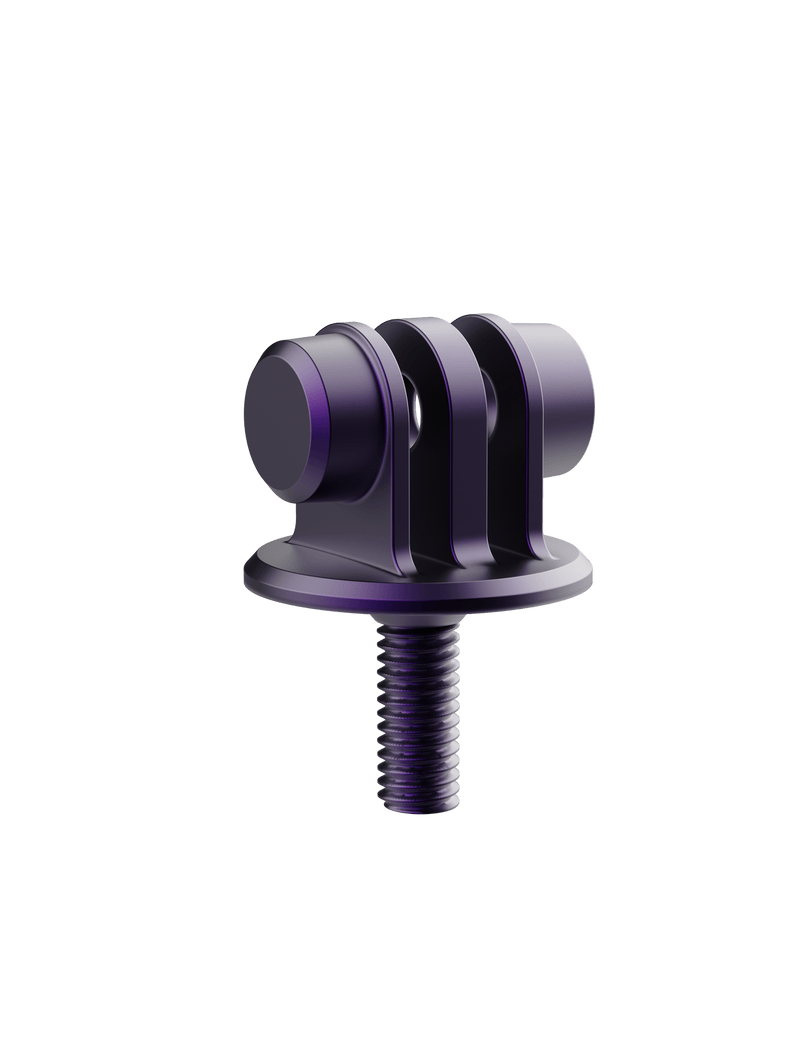
The RAV system is designed to hold the GoPro upside down.
The camera's own weight will balance itself, but depending on the situation, you can run it the correct way up, upside down, portrait, or even facing yourself. Get creative.
Don't follow their exact line, predict how they will ski.
When filming all mountain hits, try to discuss where they are going to ski before you drop - if you know they are likely to turn in a few spots then hit a feature, try to predict where they will go and average out your line and just follow them with your camera - the less turns you do, the smoother your footage will be.
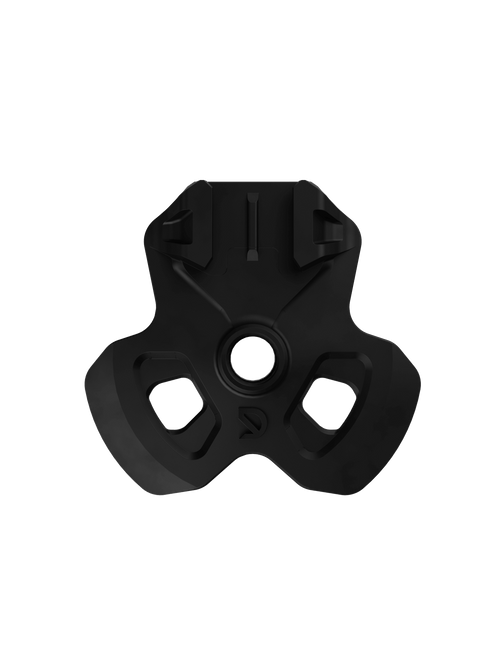
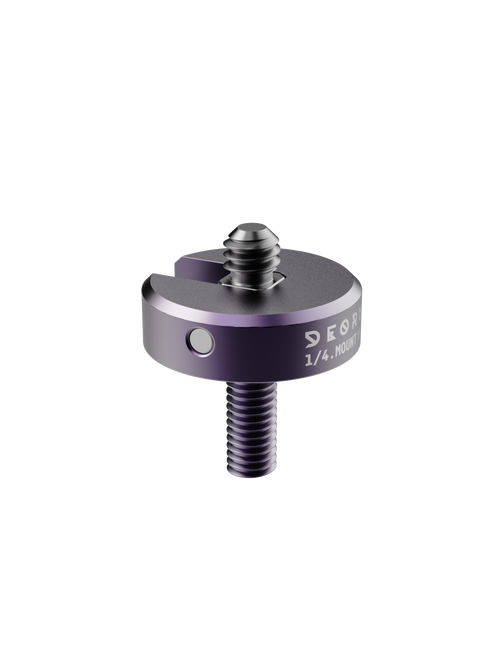
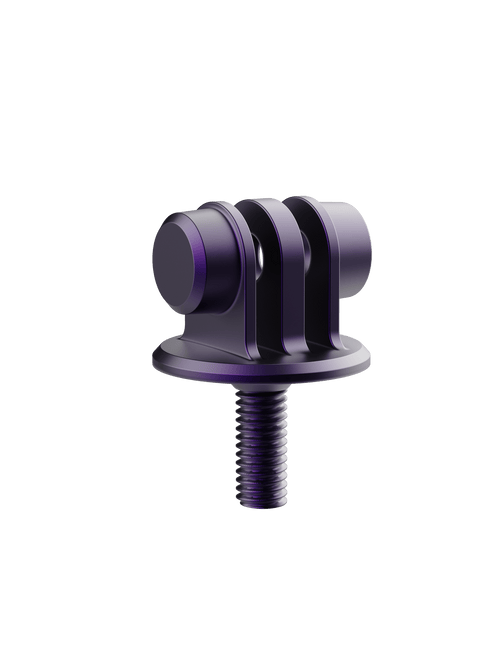
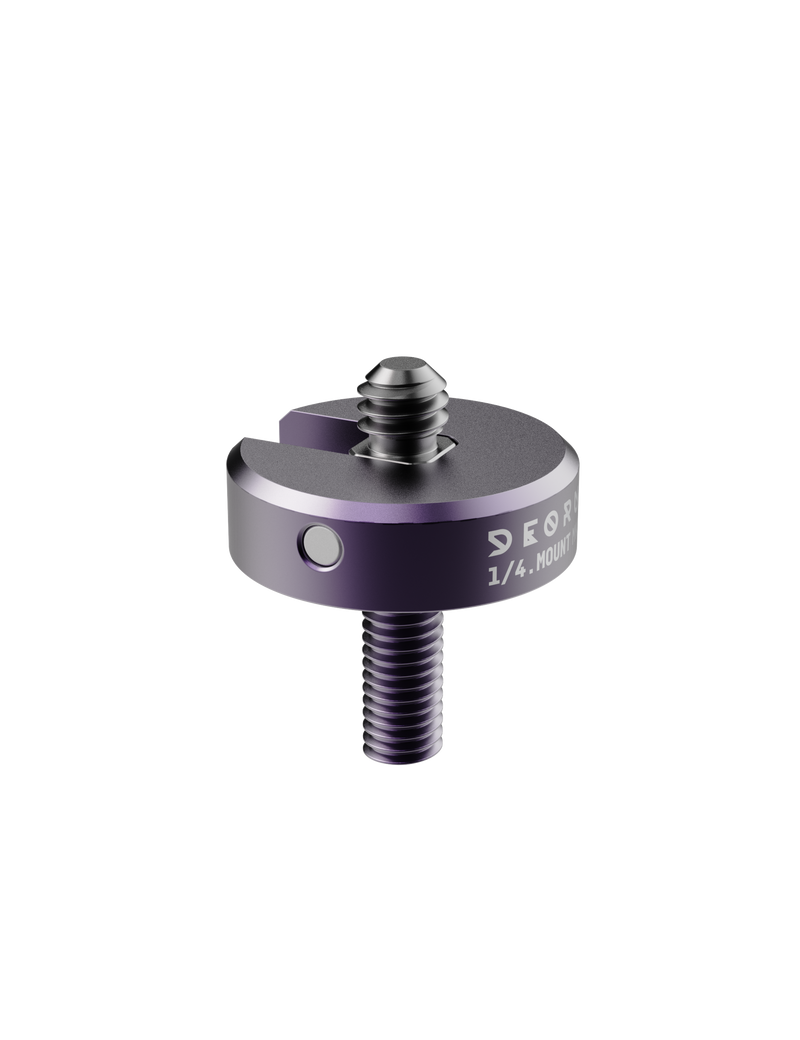
Compare RAV POWDER BASKETS $30.00 NZD THE EASIEST WAY TO ATTACH A CAMERA TO YOUR SKI POLE. The Rapid Video System [RAV,... QUARTER MOUNT $80.00 NZD If you film with an Insta360 or the new GoPro Max 2, you know how rad 360... MONO MOUNT $60.00 NZD The perfect addition for filmers who what their GoPro or similar to live on top of...
Camera settings
We've put together guide on camera settings as starting point to work from and fine tune your style. The right camera settings will take your shots from good and turn them into great.
Auto settings for everday filming
CAMERA: GoPro Hero or Max2
RESOLUTION/ MODE: 4K +
ISO: AUTO
SHUTTER SPEED: AUTO
LENS MODE: WIDE
HYPERSMOOTH: BOOST
BITRATE: High
Manual settings for motion blur
CAMERA: GoPro Hero
RESOLUTION/ MODE: 4K +
ISO: 100min - 400max
SHUTTER SPEED: 4 x Frame Rate
LENS MODE: WIDE
HYPERSMOOTH: BOOST
BITRATE: High
EXTRAS: ND Filter
Tips & Tricks
Apply Windex to your camera lens, or lick it before you drop in [weird, we know]. This will help stop snow from sticking to it if you get close to whoever you are following - especially important in warm, spring conditions.
Pro tip The faster the shutter speed, the better your camera can image stabilise, and the more crisp your image. If you run a slow shutter speed, then you can create a motion-blur effect. This adds depth to your video, and creates that classic high-speed look. We recommend using the polar pro ND filters on your camera if you are going to use this technique.
If you are filming for Instagram/ reels, think about holding the pole in portrait mode. its an easier way to keep your subject in frame over jumps where their relative height to you is changing constantly.


0 comments